Teacher has to login to the virtual learning environment Moodle and enter the course. In the „Administration“ block select „Course administration“ → „Settings”.

Figure 15. Course administration settings (teacher)
The new page opens where you can edit course settings. Scroll down to the “Course details” and fill mandatory fields:

Figure 16. Course details (teacher)
Other fields according to standard elements describing MicroCredential can be filled in the course description (these elements can be filled by teacher or by VLE administrator, it depends on the organisation’s decisions):

Figure 17. Additional course details elements (teacher)
If all the information is entered press button “Save and display”
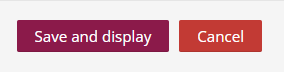
Figure 18. Save selected settings (teacher)
MicroCredential - digital certificate can be issued in Moodle version 4. The template of MicroCredential certificates can be created only by VLE administrator and issued by the course teacher when all course requirements are done by the student.
After turning “Editing on”, add a new course activity. It will be listed along with all other installed course activities.

Figure 19. Add an activity (teacher)
Once the Course certificate activity has been selected from the activity chooser, the following configuration options become available:
Name and Description: standard Moodle fields

Figure 20. Certificate name and description (teacher)
Select one of the certificate templates that have been created in the Certificate tool (by administrator). The list of templates shown here will depend on the templates that the user has access to (can either manage, view or issue), and the templates that have been shared in parent categories. Note that this field will be locked once a certificate has been issued via this activity.

Figure 21. Select one of the certificate templates (teacher)
Expiry date is optional. Expiry date indicates when the validity of the issued certificate runs out: use the Select date <datetime> option to specify an absolute date, and After <period> for a relative date.
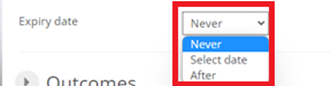
Figure 22. Certificate expiration date (teacher)
Select learning outcomes that students have achieved since microcredentials are issued.
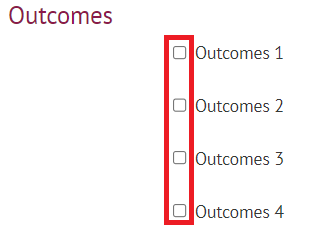
Figure 23. Learning outcomes that students have achieved (teacher)
The teacher has to add restrictions and the learner has to meet the criteria for issuing a microcredential.
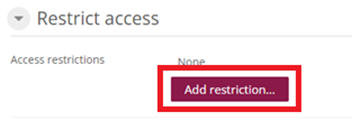
Figure 24. Add restrictions (teacher)
Press the button “Add restriction…” and select the new restriction “Activity completion”. Also possible select other restrictions: date, grade, language, user profile, restriction set.

Figure 25. Activity completion settings (teacher)
As it is shown below, the certificate will only be available to learners when the homework, intermediate assignment and final exam are passed, so restrictions must be selected.

Figure 26. Activity completion (teacher)
If all criteria is set and fields are filled, press button “Save and return to course”

Figure 27. Save selected settings (teacher)
The teacher knows that MicroCredential will be issued if learner meet the criteria and will complete the activities.

Figure 28. Criteria set
When MicroCredentials are issued - the learner receives an email with a link to where to collect them.
Last modified: Tuesday, 14 March 2023, 2:58 PM